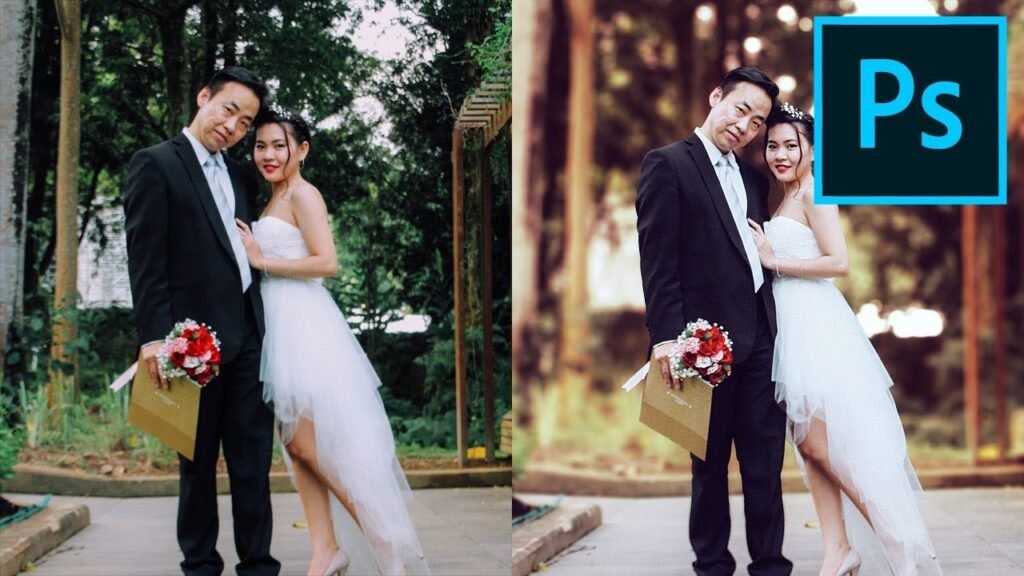
Photoshop, the industry-standard image editing software, offers a myriad of powerful tools and features that can elevate your design and photography projects to new heights. Among its array of functionalities, Photoshop Actions stand out as a remarkable tool for streamlining your workflow and achieving consistent and stunning results. In this comprehensive guide, we’ll explore the art of creating your own Photoshop Actions, breaking down the process into simple steps that empower you to enhance your images with efficiency and precision.
1. Understanding Photoshop Actions
At its core, a Photoshop Action is a series of recorded steps that can be applied to an image with just a single click. Whether you want to apply a specific set of adjustments, filters, or effects, creating a custom Photoshop Action can save you time and ensure a consistent look across your projects.
2. Step-by-Step Guide to Creating Photoshop Actions
Step 1: Open Your Image
Begin by opening the image you want to work on in Photoshop. This will serve as the canvas for creating your custom action.
Step 2: Recording the Action
- Open the Actions Panel: Go to “Window” > “Actions” to open the Actions panel, which houses the tools for creating and managing actions.
- Create a New Action Set: Click on the folder icon at the bottom of the Actions panel to create a new action set. This helps keep your actions organized.
- Record a New Action: With your new action set selected, click on the “Create New Action” icon (a small square with a circle inside) at the bottom of the panel. A dialog box will appear for you to name your action and choose where to save it.
- Start Recording: Click the “Record” button to start recording your actions. Any changes you make to the image will now be recorded.
- Perform Your Actions: Apply the adjustments, filters, or effects you want to include in your action. For example, you can adjust levels, apply filters, add text, or change colors.
Step 3: Stop Recording
Once you’ve completed the sequence of actions, return to the Actions panel and click the “Stop” button (a square icon) to halt the recording.
Step 4: Testing Your Action
Open another image and select the action set where you saved your new action. Click on your custom action to apply the recorded steps to the new image.
3. Customizing and Refining Your Actions
The beauty of Photoshop Actions lies in their flexibility. You can further refine and customize your actions to achieve the desired results.
- Adjustment Layers: Utilize adjustment layers within your actions for non-destructive editing. This allows you to fine-tune adjustments later without altering the original image.
- Grouping Actions: Organize your actions within the action set by grouping related steps. This enhances the clarity and usability of your custom actions.
- Modifying Actions: To refine your action, double-click on any step to modify its settings. This is particularly useful for tweaking effects or adjusting parameters.
4. Sharing and Exporting Actions
Once you’ve created your custom Photoshop Actions, you can save and share them for future use or with colleagues.
- Save Actions: To save your actions, right-click on the action set or action and select “Save Actions.” This creates a .ATN file that you can import into other Photoshop installations.
- Sharing Actions: Share your custom actions with others by sending them the .ATN file. They can then load the actions into their Photoshop software.
5. Embrace Creativity and Efficiency
Creating your own Photoshop Actions empowers you to infuse your images with unique styles and effects while streamlining your editing process. By following these simple steps and experimenting with different adjustments and filters, you’ll unlock new dimensions of creativity and efficiency in your design and photography projects.
